
Every blog post you publish deserves to live on Pinterest. A single article can generate dozens of pins — each one a separate entry point to your content for new readers. But creating Pinterest graphics by hand for every post takes time most bloggers don’t have.
Here’s how to turn your blog posts into Pinterest pins quickly, consistently, and without any design skills.
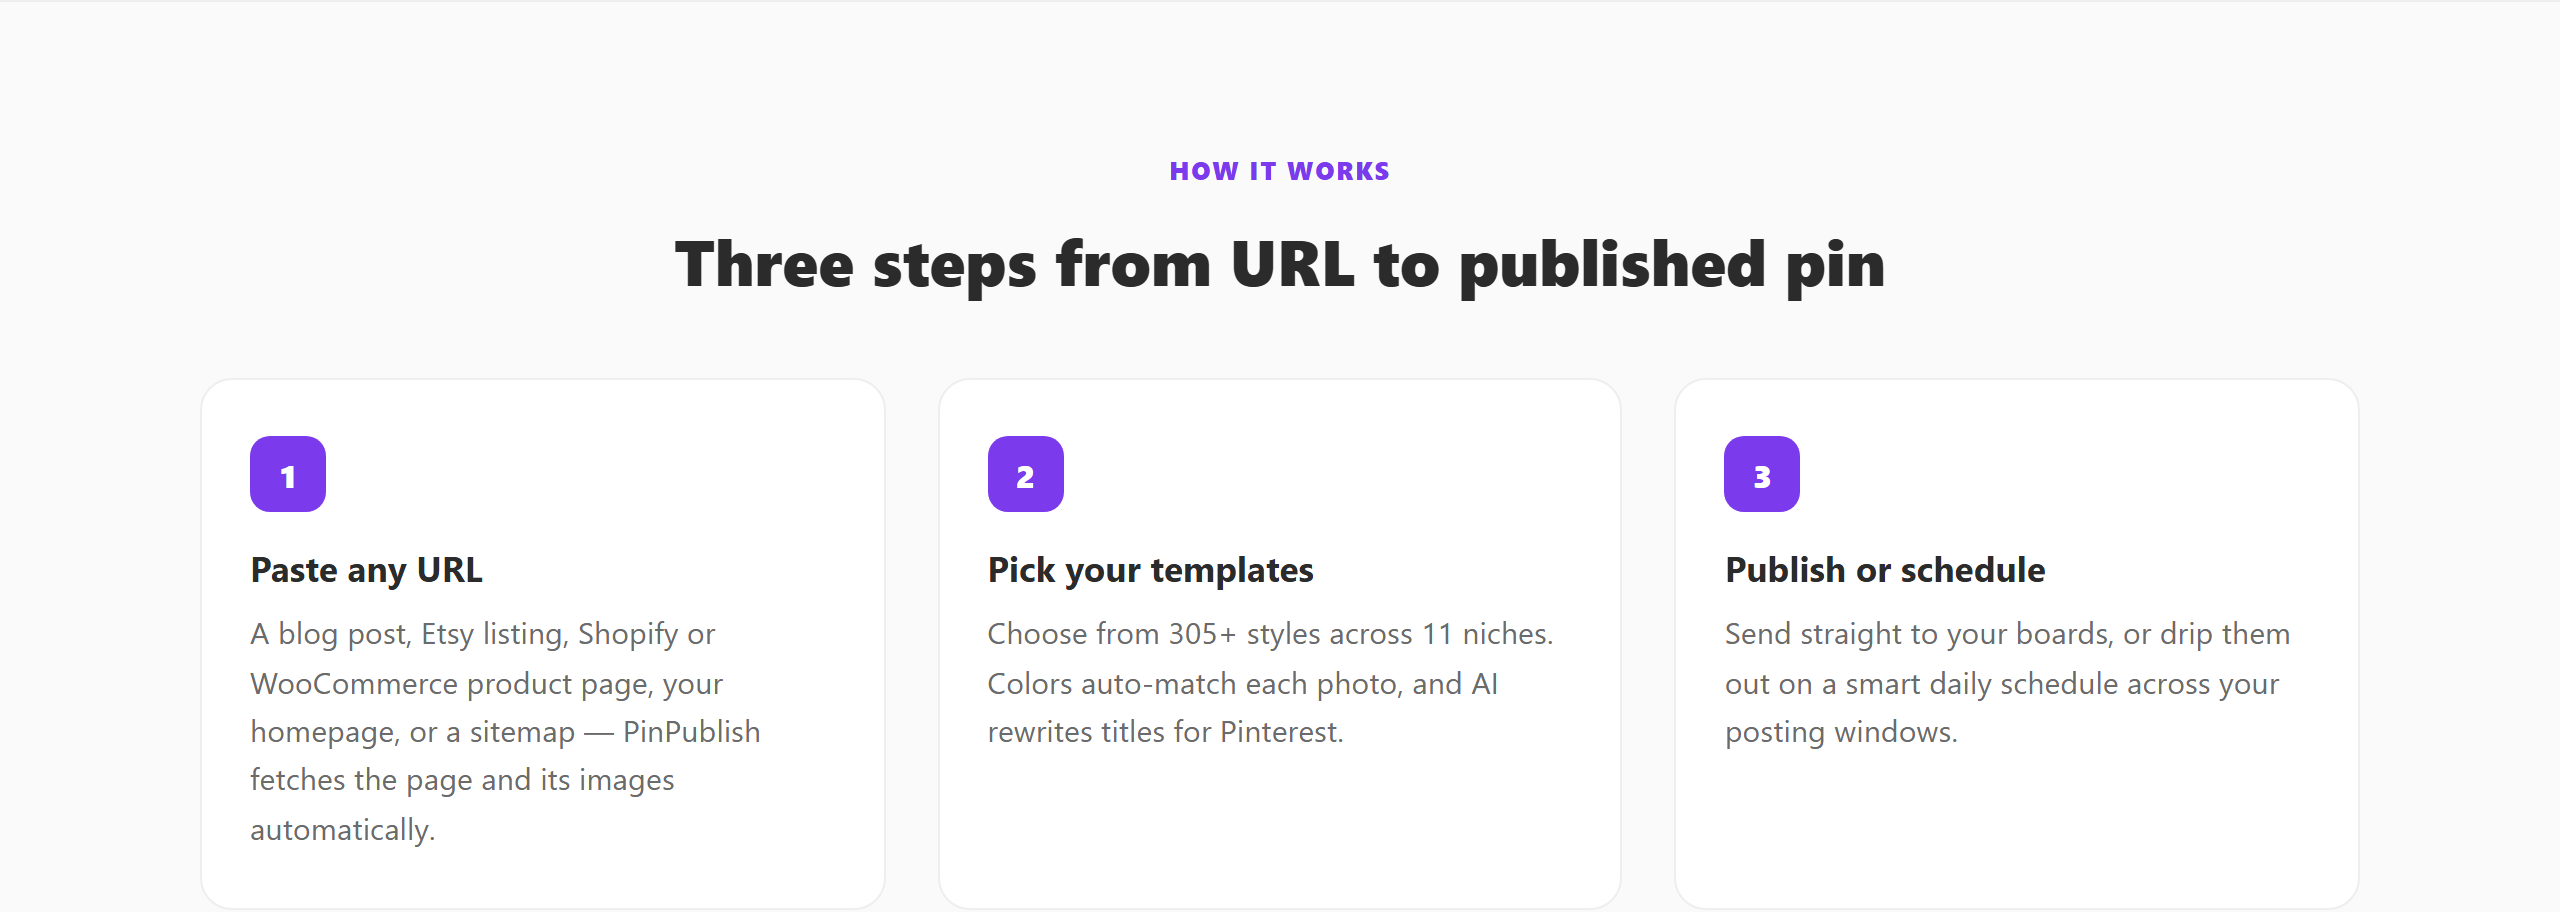 From blog post URL to finished pin in three steps.
Why You Need Multiple Pins Per Blog Post
Most bloggers create one image per article and call it done. That’s leaving traffic on the table.
Pinterest is essentially a visual search engine. The same article can rank for different search terms depending on how the pin is designed and what the title says. A pin with the title “Easy Banana Bread Recipe” reaches different people than one that says “Banana Bread With Only 5 Ingredients” — even though both link to the same post.
Creating 3–5 different pin designs per article multiplies your reach without you having to write new content. It’s the highest-ROI content repurposing strategy available to bloggers right now.
What Makes a Good Pinterest Pin?
Before we get into the process, it helps to know what actually performs on Pinterest:
- Vertical format — 2:3 ratio (e.g. 1000×1500px) takes up more feed space
- Clear, readable title text — people scroll fast; they need to read it in under a second
- Strong contrast — light text on dark background or vice versa
- Minimal clutter — one central image, one headline, your logo or URL
- Consistent branding — using the same colours and fonts makes your pins recognisable over time
Step 1: Pull Your Article Into PinPublish
Open PinPublish and paste your blog post URL into the URL field. PinPublish fetches:
- The article’s featured image
- The page title (which becomes your starting point for the pin title)
- Any Open Graph image you’ve set
You can use your own image or let PinPublish use the one it fetched.
Step 2: Choose a Template
PinPublish has 305+ templates organised by style and niche — food, lifestyle, business, travel, DIY, finance, and more. Each template is designed specifically for Pinterest’s vertical format and has been tested to look sharp on both desktop and mobile feeds.
Pick one that fits your article’s mood. You’re not locked in — you can switch templates at any point, and the text and image carry over automatically.
Step 3: Customise the Title
The fetched page title is a starting point, not the final pin title. Edit it to be more searchable. Good pin titles:
- Include the main keyword someone would type into Pinterest search
- Are specific (“5 Budget-Friendly Bedroom Ideas Under $200” beats “Bedroom Decorating Tips”)
- Create mild curiosity without being clickbait
- Are short enough to read at a glance (under 100 characters is ideal)
PinPublish’s AI title tool can suggest 3–5 Pinterest-optimised title variations based on your article — useful when you’re creating multiple pins from the same post and want to vary the angles.
Step 4: Preview and Save
The live preview shows exactly how your pin will appear in the Pinterest feed. Check that:
- Text is readable against the background
- No important image content is covered by the text overlay
- Your brand colours or logo are visible (if your template includes them)
Once you’re happy, save the pin. If you want another design from the same article, switch templates and repeat — the URL, image, and title are still loaded.
Step 5: Schedule to Pinterest
With your pins created, head to the Schedule tab, assign each pin to a board, and set a publish date. Spread them out — don’t post all 5 designs on the same day. Space them a week or two apart so Pinterest treats each one as fresh content.
How to Create Pins in Bulk
If you have a back catalogue of 50 blog posts, the idea of creating pins for each one manually can feel overwhelming. PinPublish’s Automations feature handles this:
- Give PinPublish your sitemap or RSS feed URL
- It crawls all your existing posts and queues up pin drafts using your saved templates
- You review the batch, approve the ones you want, and set a schedule
- PinPublish works through the queue over days or weeks — without you doing anything
This is how bloggers go from zero Pinterest presence to a fully active account in a couple of weeks.
Common Mistakes to Avoid
Using landscape images. Horizontal images get cropped awkwardly in the Pinterest feed. Always use vertical images or let your template create the vertical frame.
Writing vague titles. “This recipe is amazing!” tells Pinterest’s algorithm nothing. Be specific and include search terms.
Creating one pin and forgetting the post. Go back to old posts and create new pins every few months. Pinterest’s algorithm rewards fresh content from existing articles.
Not tracking which designs perform. Pinterest Analytics shows impressions and clicks per pin. After a few weeks, you’ll see which templates and title styles get the most clicks for your niche — double down on those.
Start creating Pinterest pins free — 400 credits per month, all 305+ templates included, no credit card needed.