
Making a Pinterest pin is simple once you know the steps. This guide walks you through creating your first pin — or your hundredth — with practical advice at every step.
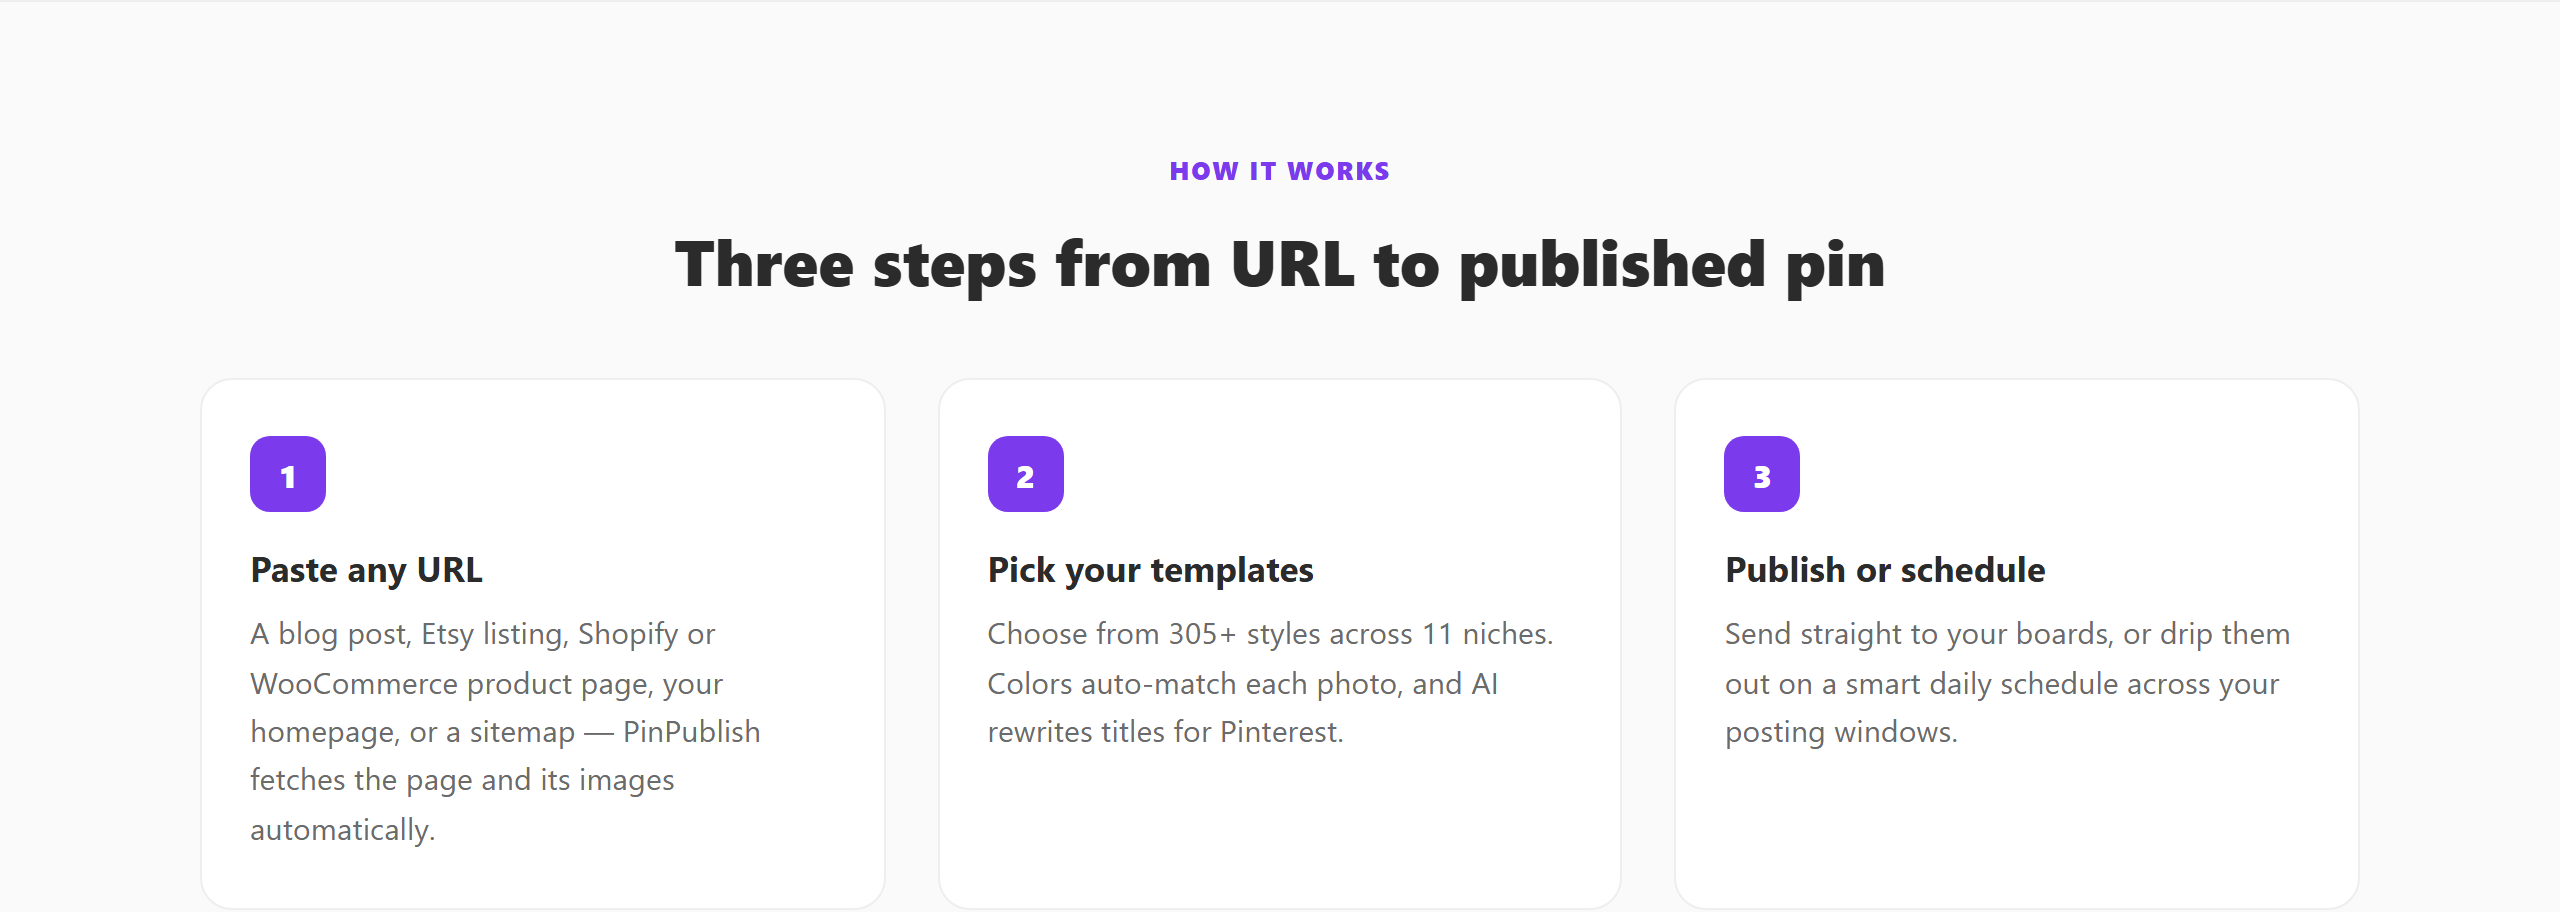 Paste a URL, pick a template, publish or schedule.
What You’ll Need
- A Pinterest Business account (free — convert at business.pinterest.com)
- An image (your own photo, a designed graphic, or a product image)
- A destination URL (your blog post, product page, or any web page)
- A title and description
Step 1: Design Your Image
Pinterest pins are vertical — the standard size is 1000×1500px (2:3 ratio). See the full size guide at Pinterest Pin Dimensions 2026.
Your image options: - Photo: A sharp, well-lit photograph relevant to your topic - Graphic: A text-overlay design created in Canva, Adobe Express, or PinPublish - Product image: Works well for e-commerce — clean product on a simple background
For most niches, a combination of a strong photo with a text headline overlay performs best. The text makes the pin searchable and clickable; the photo makes it visually appealing.
Step 2: Write a Searchable Title
The pin title is what gets your pin found in Pinterest search. Think about what your target audience would type into Pinterest search to find this content.
Good title: “Easy Banana Bread Recipe — Only 5 Ingredients” Weak title: “My favourite banana bread!”
The first includes the specific terms people search for. The second tells Pinterest’s algorithm almost nothing.
Keep titles under 100 characters so they display fully in the feed.
Step 3: Write a Description
Pinterest descriptions are searchable, though they’re not always shown prominently. Include 2–3 relevant keywords naturally in the description — don’t stuff keywords, write for the human reader.
A good description adds context the title doesn’t have room for: “This 5-ingredient banana bread takes 10 minutes to prep and is perfect for using overripe bananas. No mixer needed.”
Step 4: Add the Destination URL
Every pin should link somewhere. For bloggers, that’s your article. For e-commerce, that’s the product page. For service providers, that’s your landing page or booking page.
Use UTM parameters if you want to track Pinterest traffic in Google Analytics — see How to Track Pinterest Traffic.
Step 5: Choose Your Board
Pick the most relevant board for this pin’s topic. Board relevance helps Pinterest categorise and distribute your content correctly.
Step 6: Publish or Schedule
You can publish immediately or schedule for a later time. Scheduling is better — spreading pins throughout the day and week gives each one maximum exposure.
Making Pins Faster: PinPublish
Instead of uploading an image, writing a title, writing a description, and selecting a board manually for every pin, PinPublish handles it in seconds:
- Paste any URL (blog post, product page, Etsy listing)
- Choose a template
- Edit the title if needed
- Add to schedule
PinPublish pulls the image and title from the URL automatically. One URL can generate 5+ different pin designs using different templates — each one scheduled days apart.